Concrete Floor Grinding Guide: From Surface Preparation to Professional Polished Finish
Importantly, Concrete floor grinding is a mechanical process for leveling, cleaning, prepping and polishing concrete surfaces. Achieving great results relies heavily on proper surface assessment, well‑matched diamond tooling, strict grinding sequence, dust control and proper finishing. Common projects include coating removal, surface repair and polished concrete finish.
Furthermore, This guide outlines the key steps for achieving a professional concrete floor grinding result.
1. Surface Preparation
First of all,Surface preparation is the foundation of every successful concrete grinding project. Before grinding begins, the floor must be inspected and prepared carefully.
Key points:
– Inspect the floor for cracks, spalls, coatings, adhesives, oil stains, and uneven areas.
– Identify the concrete’s hardness, aggregate condition, and moisture level.
– Remove coatings, glue, paint, and contaminants using the appropriate method.
– Repair cracks and patches before grinding; allow repairs to cure fully.
– Protect surrounding areas and establish dust containment.
– Confirm the final goal: coating removal, leveling, profiling, or polished concrete.
In addition, you must mark out cracks and oil stains before any grinding work starts.
In short,Proper preparation prevents tool damage, improves grinding efficiency, and ensures a consistent final finish.
2. Selecting Diamond Tooling
Concrete grinding requires purpose-built equipment and diamond tooling. By contrast, general-purpose sanders or household tools are not suitable for professional results.
Key points:
– Use a variable-speed floor grinder with a dust shroud and sufficient machine weight.
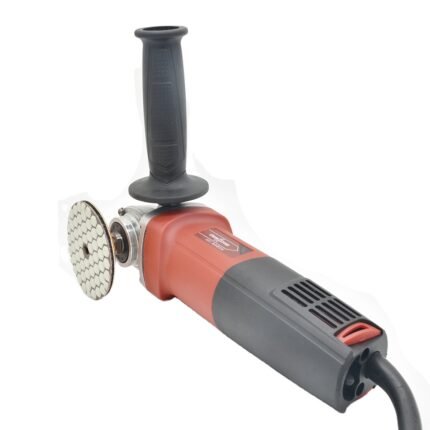
– Use edge grinders or hand-held grinders for edges, corners, and small areas.
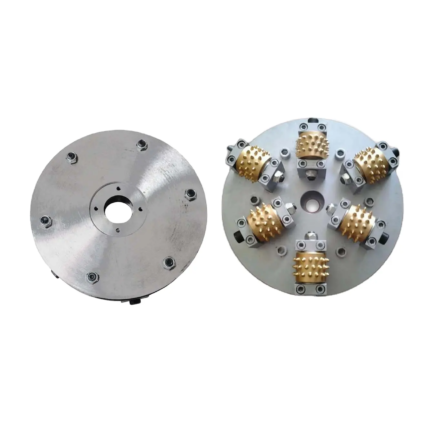
– Metal bond tools work best for coarse grinding,leveling, and coating removal.
– Alternatively,For fine polishing, choose resin bond diamond pads.
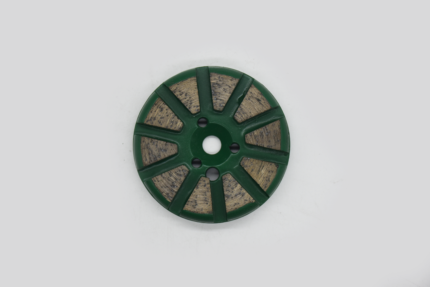
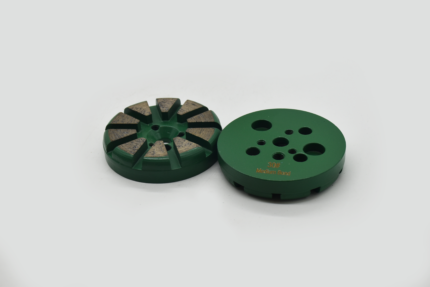
In addition,Choosing proper metal‑bond and resin‑bond diamond tools directly impacts grinding speed, surface quality and tool service life. Match diamond bond hardness to your concrete condition for best performance.
– Match the diamond bond to the concrete: soft-bond tools for hard concrete, hard-bond tools for soft or abrasive concrete.
– Prepare a grit range from coarse to fine, such as 16/20, 30/40, 60/80, 120/150, 200/400, 800, 1500, and 3000, depending on the desired finish.
– Use a HEPA vacuum, safety gear, and water supply if wet grinding is permitted.
Tool selection should always be based on the floor condition and the target finish.
Furthermore, the bond hardness must match the hardness of your concrete slab.
3. Step‑by‑Step Grinding Sequence
Complete your coarse grit pass. After that, inspect the floor evenly before moving to the next finer grit.
In fact, the grinding sequence is the roadmap to a flat, clean, and uniform surface. Skipping grits is one of the most common causes of scratches, haze, and inconsistent gloss.
Key points:
– Always progress from coarse to fine grit.
– Never skip grit steps.
– Coarse metal-bond diamonds remove coatings, level high spots, and expose aggregate.
– Next, medium grits refine the surface and erase scratches left by the prior step.
– For the later stages, fine resin-bond diamonds ready the slab for polishing or sealing.
– Also, overlap each pass by approximately 30–50% and follow a cross-hatch pattern.
– Keep the machine moving steadily to avoid burn marks and uneven grinding.
– Finally, inspect the floor after each grit stage before advancing to the next.
A typical sequence may include 16/20 → 30/40 → 60/80 → 120/150 → 200/400 → 800 → 1500 → 3000, depending on the specification and desired gloss.
4.Silica Dust Removal & Safety
Floor grinders remove material fast. However, they also release hazardous silica dust without proper extraction.
Concrete grinding generates crystalline silica dust, which is hazardous to health. Dust removal is not optional; it is a critical part of the process.
Key points:
– Use a HEPA vacuum connected to the grinder’s dust shroud.
– Check hoses, seals, and filters regularly.
– Use proper PPE, including an N95 or higher respirator, eye protection, and hearing protection.
– Establish containment to prevent dust from spreading.
– Never dry sweep dust; use vacuum or wet methods where appropriate.
– Clean edges, corners, and work areas thoroughly after each stage.
Without proper controls, silica dust creates serious long-term health risks for everyone on site.
Effective dust control protects workers, improves visibility, and keeps the work area professional.
Besides, all operators need approved respiratory protection for dry grinding jobs
5. Finishing for Polished Concrete Floor Results
A densifier fills concrete pores and increases surface hardness. Therefore, it helps deliver a long‑lasting polished finish.
Above all, finishing determines the final appearance, durability, and performance of the concrete floor.
Key points:
– Apply a concrete densifier at the recommended stage to harden the surface and improve polishability.
– Allow the densifier to absorb properly and remove excess material.
– Continue polishing with the appropriate resin-bond grits to achieve the desired gloss.
– Apply a stain guard or sealer if required by the project specification.
– Burnish the surface if a higher sheen is desired.
– Inspect for haze, scratches, burn marks, and uneven areas.
– Protect the finished floor from traffic and contamination until fully cured.
A proper finishing process delivers a clean, durable, and professional concrete surface.
FAQ
Q: Can I use a hand-held angle grinder for a large concrete floor?
A: Hand-held grinders are suitable for edges, corners, and small repairs. For large areas, use a floor grinder to achieve flatness, consistency, and efficiency.
Q: Do I really need to use every grit?
A: Yes. Skipping grits leaves deep scratches that are difficult to remove later and often cause a hazy or inconsistent finish.
Note that, hand grinders are not efficient for large open floors.
Q: Should I grind wet or dry?
A: Both methods can work. Dry grinding requires a HEPA vacuum and dust containment. Wet grinding controls dust but requires slurry management and proper disposal.
For this reason, always stick to your planned grit progression.
Q: Why does my concrete floor look hazy after grinding?
A: Common causes include skipped grits, insufficient time on the final grit, contaminated pads, incorrect RPM, or failure to apply the proper densifier and finishing steps.
Q: Is a densifier always necessary?
A: For polished concrete, a densifier is highly recommended to harden the surface and improve gloss. For coating preparation, it may not be required depending on the specification.
Q: How do I remove old coatings or adhesive?
A: Use aggressive metal-bond diamond tools or coating-removal tooling. Test a small area first and adjust the tooling, speed, and pressure according to the coating type.
Q: How long does concrete floor grinding take?
A: Time depends on floor size, condition, coating removal requirements, grit sequence, and desired finish. Always follow the tool manufacturer’s operating parameters and conduct a test area first.
Note:Always follow the equipment and diamond tool manufacturer’s recommendations for RPM, pressure, water use, and safety.
About Quanzhou Tianli Grinding Tools Co., Ltd.
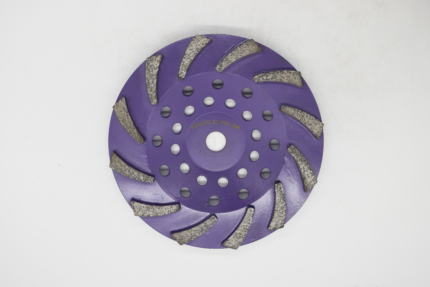
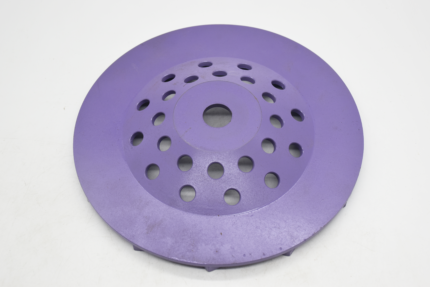
If you want reliable results,to grind concrete cleaner, cooler, and more consistently, start with a cup wheel engineered for the slab in front of you. Quanzhou Tianli Grinding Tools Co., Ltd. offers premium diamond cup wheels for concrete surface preparation, with bond hardness, diamond concentration, and segment configurations matched to the realities of residential and commercial concrete work. Our team provides technical guidance on bond selection, grit progression, RPM settings, and dust-control compatibility.
Contact us for help specifying the right cup wheel for your next concrete grinding project.